Okay, okay… you saw that video online of a bright blue crystal clear lake in the middle of a forest and felt like you wanted to live this fairy dream too, right?! No judgment here, that’s exactly how we ended up in El Bolsón!
Now, we had no idea this tiny town was filled with incredible hikes (and so many things to do too). So we went for the most popular one around here: El Cajón del Azul.
And while the other hikes seemed just as nice, this one is popular for good reason — it follows a stunningly blue river all the way up the mountain to some epic natural pools or piletones, as the locals call them. It’s also not as physically demanding as the others, especially if you spend the night in one of the many refugios (aka mountain huts) on the trail.
So, let’s break this amazing hike down for you!
Also read: 8 Best Things to Do in El Bolsón – Patagonia’s Hidden Gem
Things to know before you go
This is a 6-7 hours moderately challenging trek, plus the time you spend chilling by the natural pools and mountain huts so we’d add around 1-2 hours on top of that. For us, it took 8:30 hours to complete it, of which we only walked 6:30 hours (we’re not super fit, so that’s a good average for a normal person).
El Cajón del Azul is a very well-marked trail, and there’s no need for a guide, but in any case, we always recommend downloading the trail map from the app AllTrails so you’re always sure you’re on the right path.
Note: This hike is located inside ANPRALE which is considered a protected area (no pets, no fire, no pollution, and no vehicles allowed here).
You’re required to fill out a registration form before your hike and, once you’re back, you must also declare your return. Make sure to screenshot your registration, as you’ll need to show it at the trail entrance. If you don’t do it online, you can also register at a small registration office at the trailhead.
Make sure to pack some snacks, plenty of water, and cash. You can buy water, tea, coffee and some food (cash only) at the refugios. There’s also a small bar on the trail that’s usually open when you’re returning from your hike at the end of the afternoon.
Last but not least, it’s always advisable to let a family member or a person of trust know of your hiking plans as well as what emergency numbers to call in case of need. At ANPRALE, the emergency number is 911 for rescues and ambulances.
Hot tip: You can also break this hike down into two or more days by spending the night in a refugio. After all, you are in the biggest network of mountain huts in all of South America! You can check out the map with all the refugios in ANPRALE here to plan your multi-day hike.
Itinerary
1. Departure from El Bolsón
The trail begins at a little farm called Wharton, situated about 22 km from El Bolsón. Here’s how to reach it:
🚗 By car: the most convenient way to reach Wharton is with your own car and unless you already have rented one in Bariloche, we recommend a local spot called Los Girasoles (+54 9 2944 62 7977. At Wharton, parking is available for a small fee, so don’t forget to bring some cash.
🚕 By taxi: ride-sharing apps have not reached this part of the world yet, but you’ll find a convenient taxi stand in front of La Anónima Supermarket (location here) in town. The rates are fair, though be sure to carry cash as cards aren’t accepted. It’s also a good idea to either agree on a return time or grab the driver’s number, as finding taxis later can be tricky.
🚌 By bus: public buses are an affordable way to reach Wharton. They depart from Plaza Pagano at 8 and 10 AM, with return trips from Wharton at 2, 5 and 7:30 PM (check the schedule here). The fare is 1500 pesos and must be paid in cash.
Tip: hitchhiking is a common practice in Patagonia in general so you can also try that. Of course, always exercise caution and use common sense if you choose this option.

Also read: The Complete Bariloche Guide for First-Time Travelers
2. Wharton Farm: El Cajón del Azul Trailhead
When you arrive at Wharton, you can either stop by ANPRALE to register or head straight to the trailhead. A staff member there will ask to see your registration confirmation – good thing you’re already prepared because you read our blog post in advance 😉.
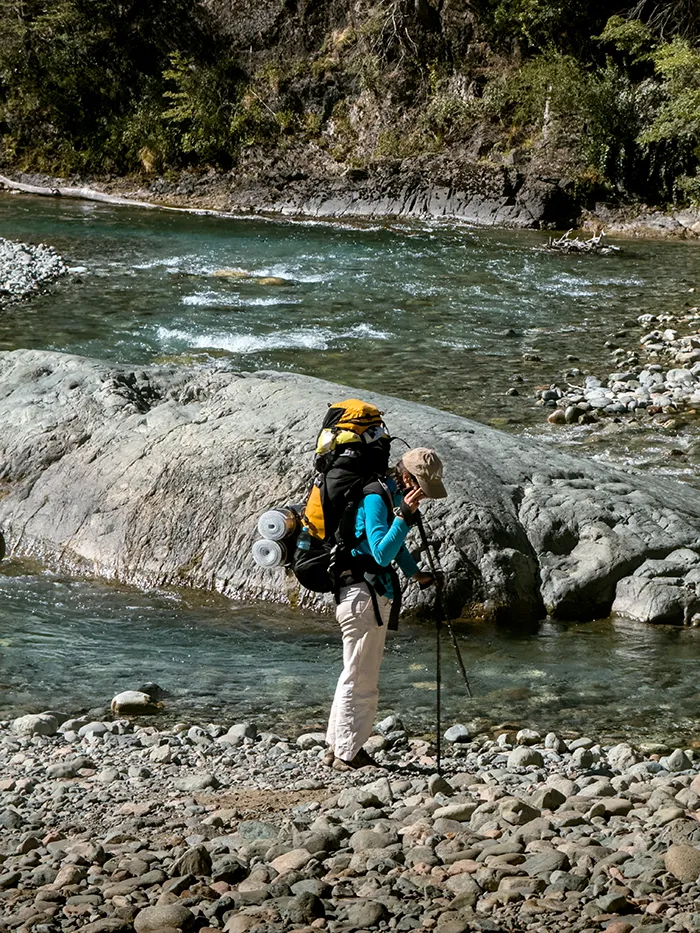
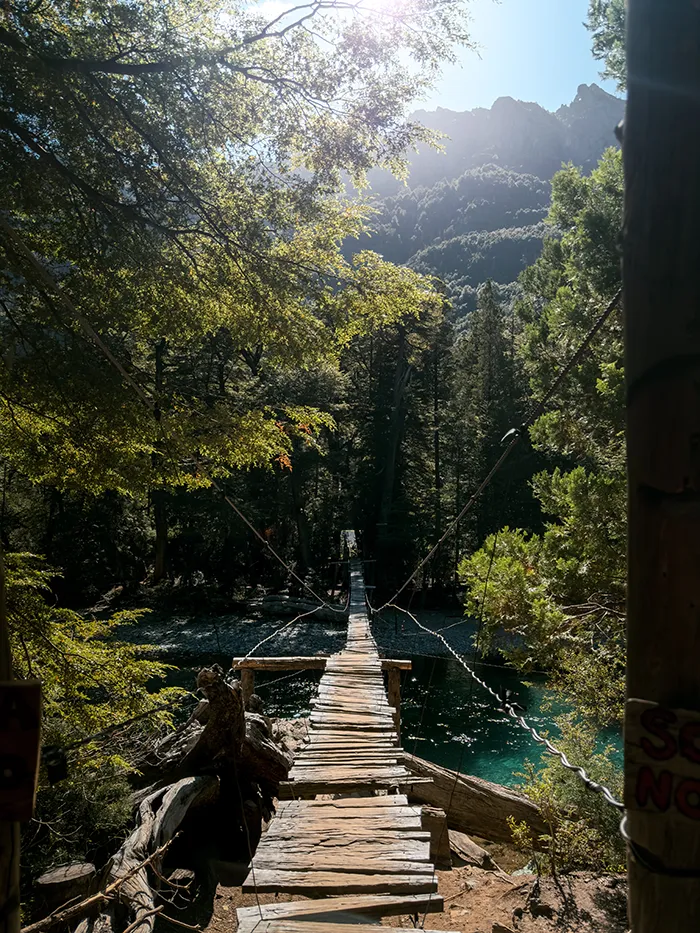
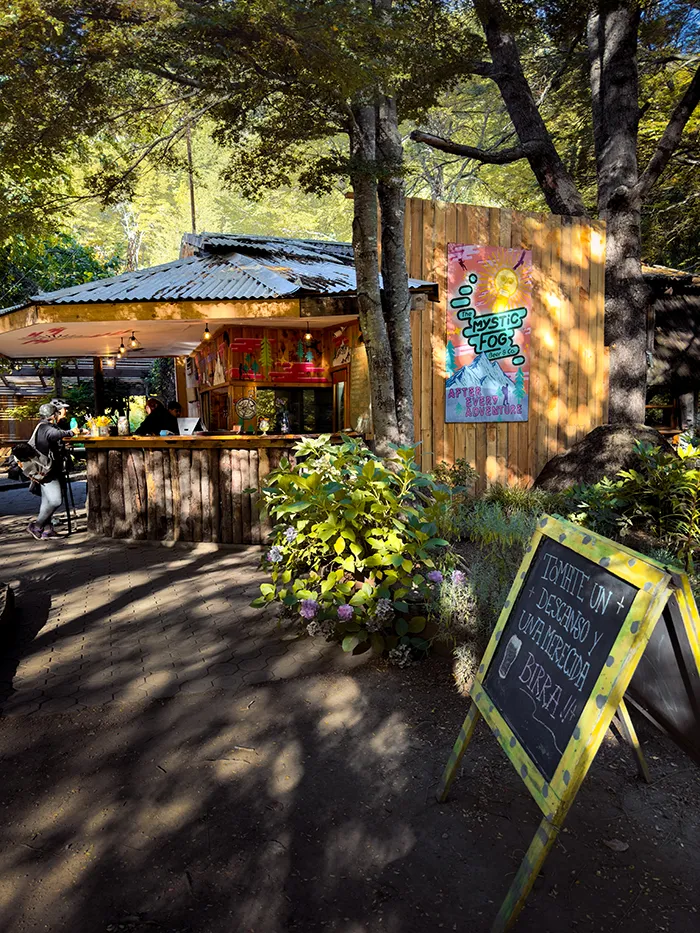
From here, you’ll walk a dirt road completely downhill for about 1.5 km (remember this moment when you’re questioning all your life choices on the way back up). You’ll then reach the river and The Mystic Fog Beer & Co., the cutest little bar that’ll greet you with a beer later in the day.
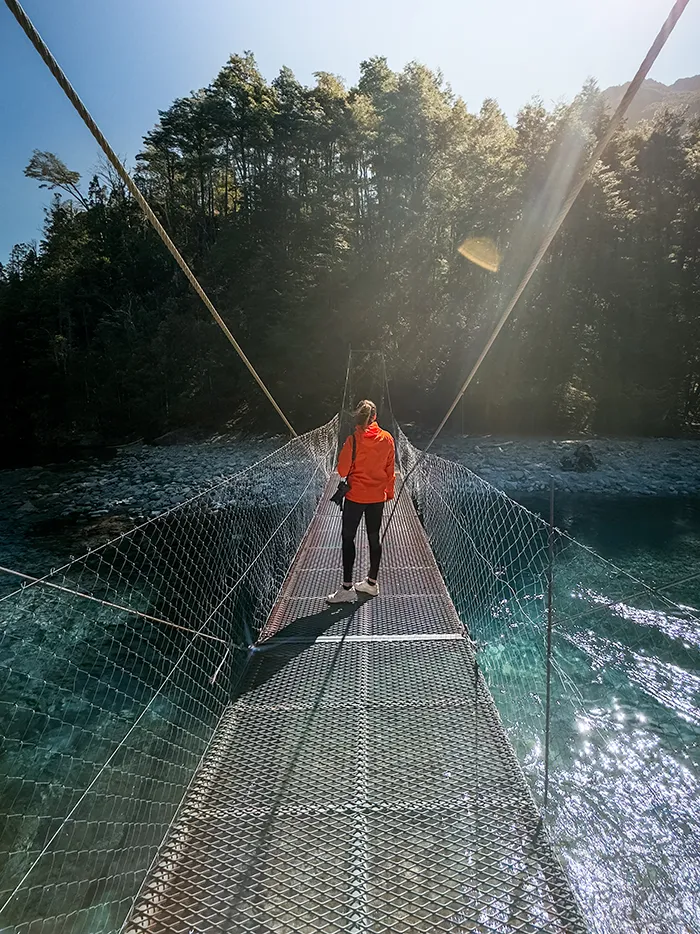
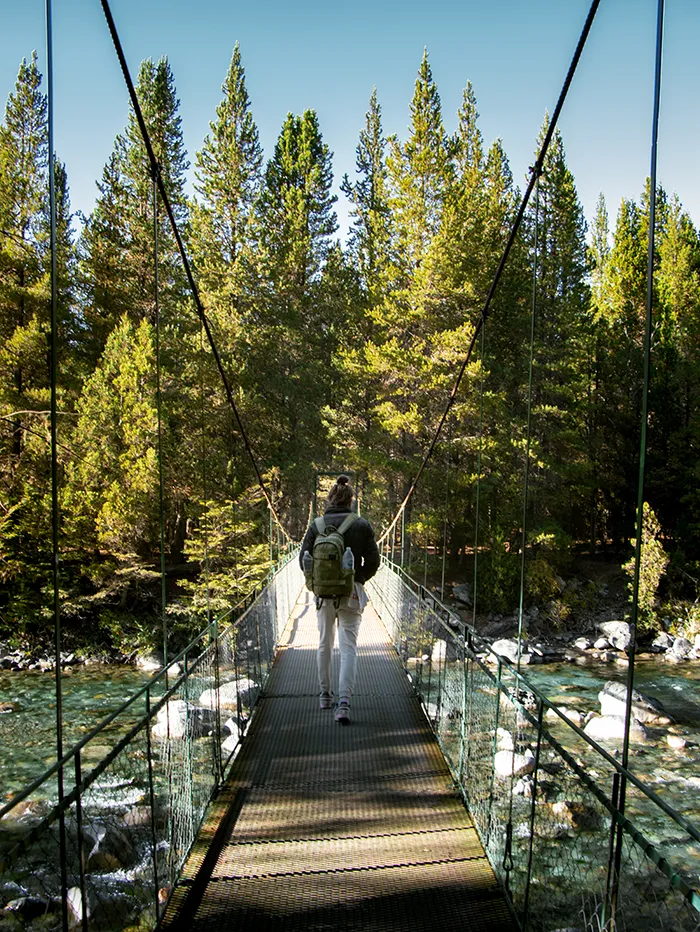
The toughest part of the hike comes right after: you’ll cross the first of many hanging bridges and face a steep uphill climb up the mountain. After that, the trail leads through forests, and the trek becomes less demanding and even pleasant.
3. Refugio La Playita
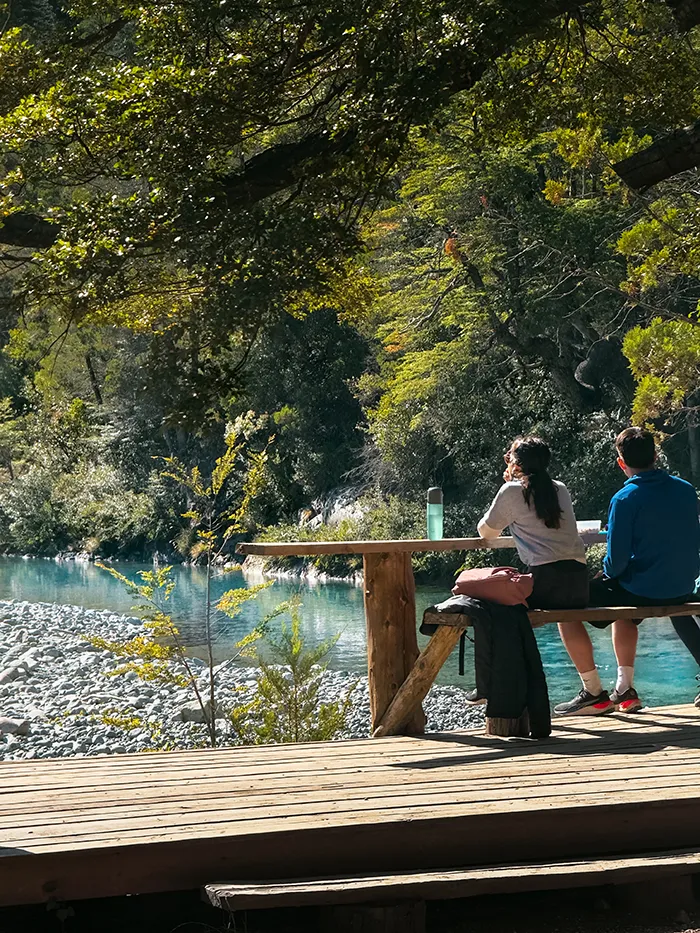
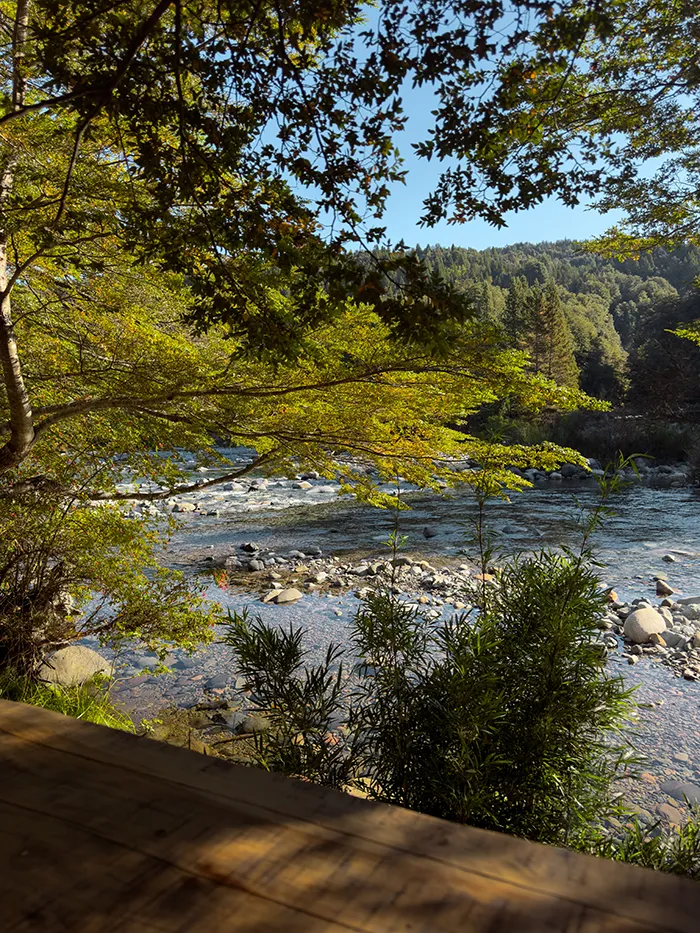
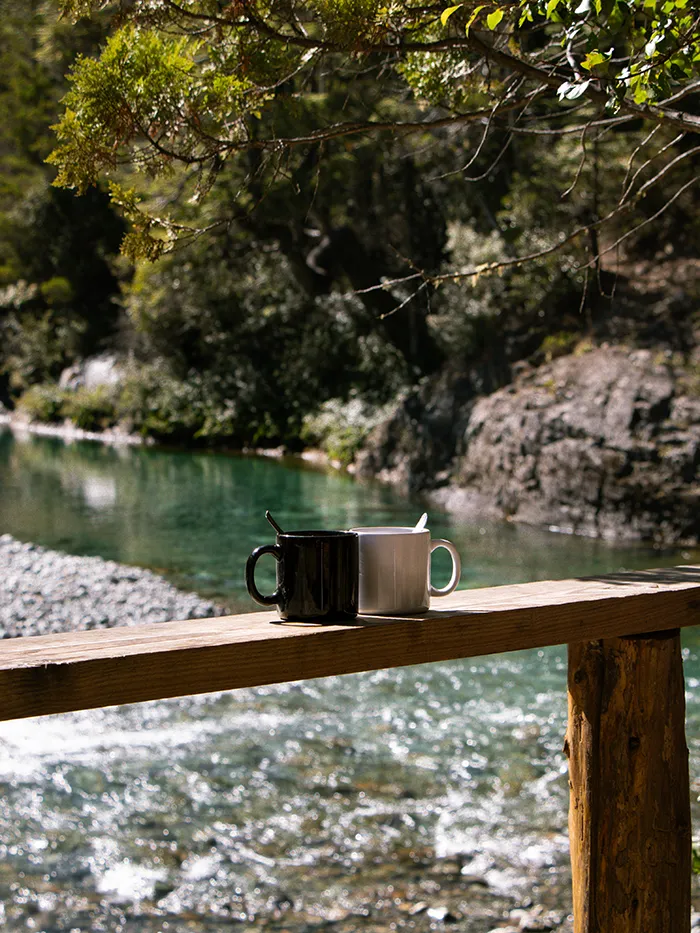
A few hours in you’ll make it to the first stop: Refugio La Playita. Located right by the river, this is where we had breakfast. Got a nice cup of hot tea from the little shop inside the hut and the cookies we brought from home. It wasn’t hot enough for a dip, but the water looked fabulous!
Tip: they sometimes sell torta frita and homemade cake too! Ask inside for what’s available.
From here to Cajón del Azul takes about 40 minutes. On the way, you can also stop at Refugio La Tronconada, only accessible via a (very) worn-out wooden bridge.
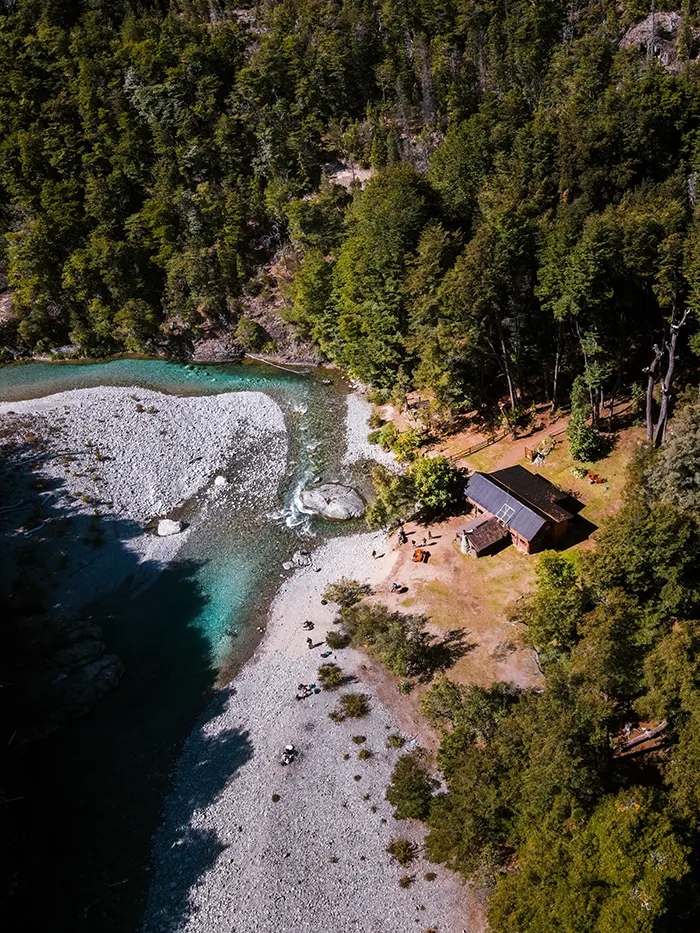
4. El Cajón del Azul
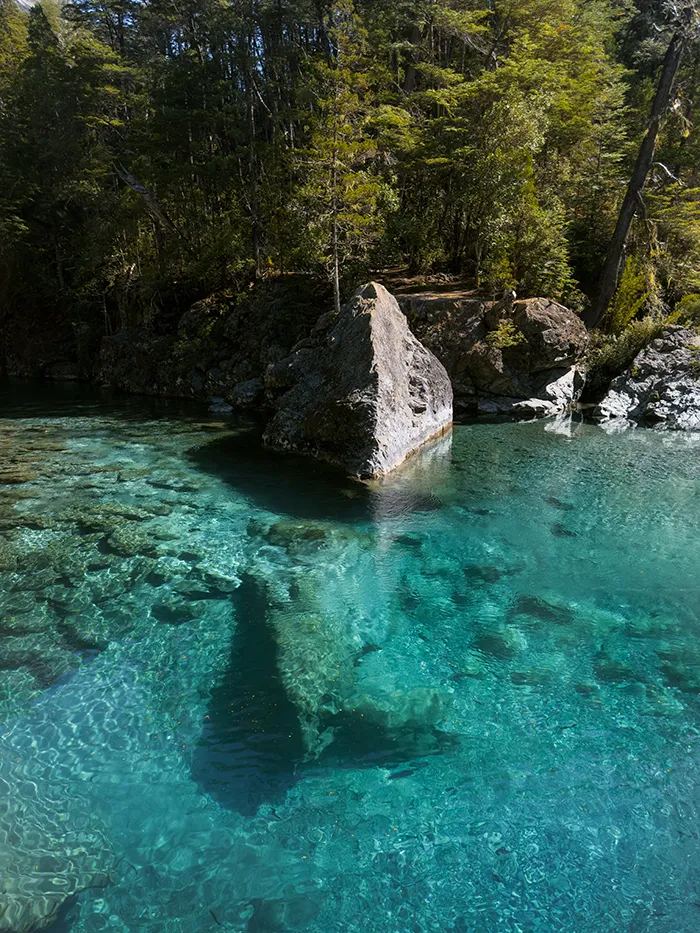
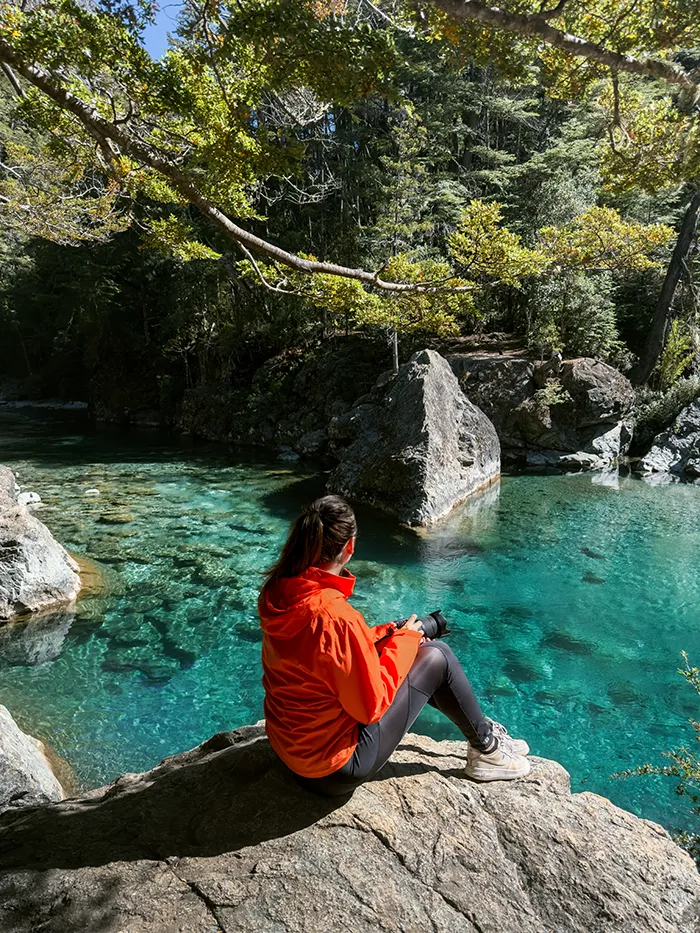
Welcome to one of the prettiest places on Earth! El Cajón del Azul is a section of the river with natural pools too perfect to be real.
After La Tronconada, before crossing the river again, take a left to see the actual Cajón del Azul (location here) before coming back and crossing the hanging bridge that leads to the Refugio.
Enjoy your time around here! If you visit during summer you might even be able to swim on the icy waters.

Once at Refugio Cajón del Azul, we recommend trying their stews and homemade cakes, super yummy! You can also explore a bit further, visiting the other side of Cajón del Azul and following the canyon to a small waterfall. We were already too exhausted to do it, but the guys at the refugio were happy to point us the way.
Tip: If you’re planning a multi-day trek, you could continue hiking from here for another 2 to 2.5 hours and spend the night at Refugio Casa de Campo. Or, you can take a different direction for an hour to reach Refugio La Horqueta, where you can rest for the night. From there, continue the following day to Refugio Los Laguitos and spend another night in the mountains!
Staying the night in a Refugio
Staying in a refugio means you’ll get a bare mattress, and you must bring your own sleeping bag. The mattress can be either on the floor or in a bunk bed, in a room shared with other hikers.
Tip: If you don’t own a sleeping bag and aren’t keen on buying one, you can easily rent one in Bariloche or El Bolsón.
You won’t find reservations here (yep, it’s first come, first serve!), so if you’re planning to snag a bed, it’s best to arrive early. Otherwise, bring your own camping gear and find a spot nearby to pitch your tent.
In either case, you must pay in cash for your spot. This year, prices were around 15-25k pesos per person for a mattress and 8-12k pesos for camping (2024 prices). All refugios have Instagram pages, so you can also double-check their rates in advance.
Also read: How to Visit Circuito Chico, Bariloche: a DIY Guide
Best Time to Hike El Cajón del Azul
The best time to hike El Cajón del Azul is during Patagonia’s warmer months, from November to March. This is when the weather is at its best with sunny days, mild temperatures, and the Río Azul showing off its brightest turquoise. It’s also when the scenery is at its most stunning, with lush green forests and clear skies.
That said, summer does bring (many) more hikers to the trail. We did this hike at the end of March, and it was still super busy, so we can’t even imagine what January and February look like. November should be a better option for a quieter experience overall.
Tips for Hiking El Cajón del Azul
📶 There’s little to no phone signal along the way, that’s why we highly recommend downloading the trail map from the app AllTrails.
💰 Bring enough cash with you. Everything from refugios and camping, to food and drinks must be made in cash.
🥾 Wear comfortable hiking shoes and bring multiple layers of clothing, as temperatures can vary greatly throughout the day.
🥶 It can get very chilly at night (never forget you’re actually in the Andes mountains), so bring that extra set of warm clothes with you if you’re sleeping in the mountain.
And, it should go without saying… Leave no trace!
Also read: Seven Lakes Route: The Perfect 2-Day Road Trip Itinerary


